From Concept to Completion: Step-by-Step Guide to Bathroom Rendering for Filipino Freelance Staff
Unleash the deepest talent pool on the planet to deliver perfect drawings at a fraction of the cost of a local team member, (and a fraction of the hassle).
As a Filipino freelance staff, bathroom rendering can be a challenging task, but following a step-by-step process can make the process smoother and more manageable. Here is a guide to help you take your bathroom rendering project from concept to completion
1. Gather Information:
The first step in any bathroom rendering project is to gather information about the space you'll be working with. This includes measuring the bathroom, identifying any features or elements that need to be included, and understanding your client's vision for the space.
2. Create a Rough Sketch:
Using your gathered information, create a rough sketch of the bathroom. This sketch will serve as a blueprint for your rendering and will help you visualize the space before you begin.
3. Choose a 3D Rendering Software:
Choose a 3D rendering software that you're comfortable working with and that can deliver the quality and level of detail you need for your project.
4. Build the 3D Model:
Using your rough sketch as a guide, build the 3D model of the bathroom. This includes adding in walls, fixtures, and other design elements.
5. Apply Materials:
Once the 3D model is complete, begin adding materials such as tiles, paint, and other finishes to the surfaces in the bathroom.
6. Add Lighting:
Add lighting to the bathroom, making sure to consider both natural and artificial light sources. Test the lighting to ensure that it creates the desired ambiance and highlights the space's best features.
7. Fine-Tune Details:
Once the basic rendering is complete, it's time to fine-tune the details. This includes adjusting the camera angle, tweaking the lighting, and making any necessary changes to the textures and finishes.
8. Render the Final Image:
When you're satisfied with the final product, render the image at the highest quality possible. This may take some time, but it's essential to ensure that the final product is visually stunning and meets your client's expectations.
9. Review and Revise:
Review the final image with your client and make any necessary revisions. This is your chance to refine the details and make any changes that your client may want.
10. Deliver the Final Product:
Once the revisions are complete, deliver the final product to your client. Make sure to provide them with all the files they need, including the 3D model and any other relevant materials.
how it works
Purchase a block of hours and use those hours on any projects you have, over any period of time.
These hours never expire.





Dedicated Staff
You'll be allocated a Team Leader and dedicated staff member who gets to know you, your systems, and your objectives so your drawings are completed quickly and correctly.
Multiple A&D Disciplines
You get access to a whole team of skill sets. Need a project that requires a certain type of skill one week, but another skill the week after?
We've got you covered.
Time Tracked
We use third third-party software to track time and activity levels so you know what staff are working on and how long it is taking to complete.
WE WORK WITH GREAT BRANDS ALL OVER THE WORLD TO SAVE THEM TIME, HASSLE, AND $$$
Our Team of 110+ Architectural Designers are at your disposal 24 hours / 7 days a week.
You allocate a project or task and we're all over it.

















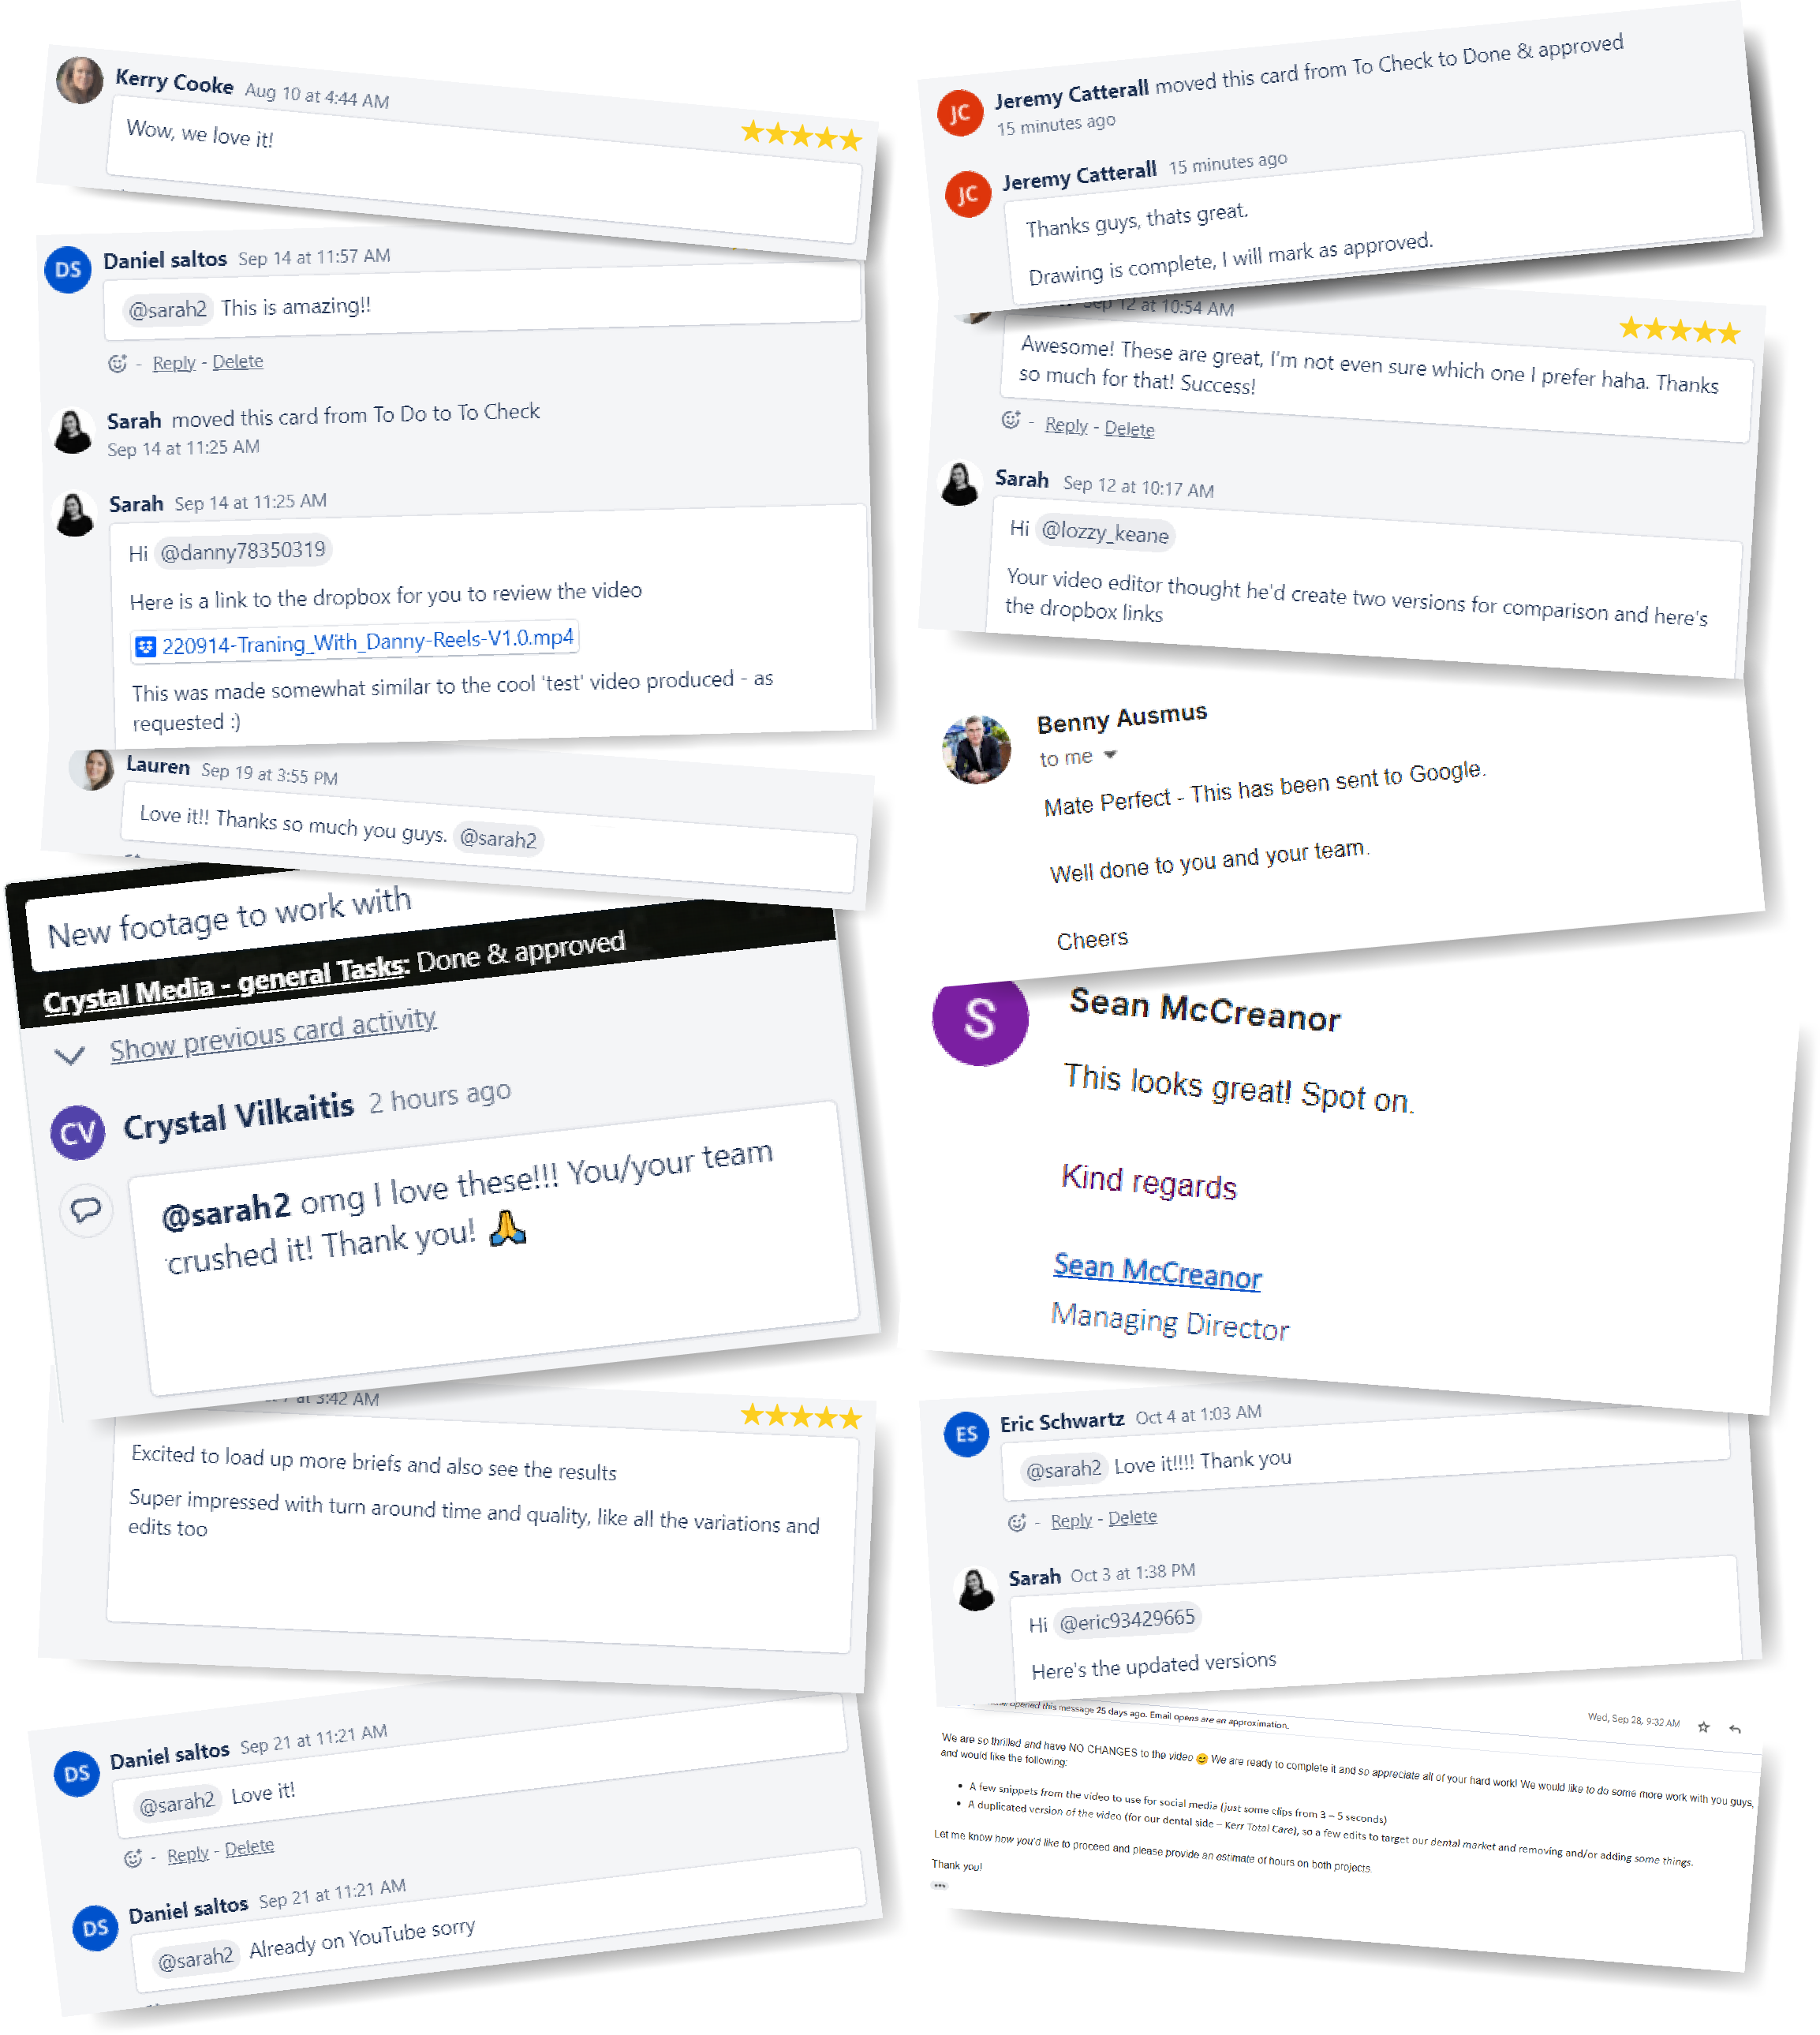
What our clients say
How can we help you?

